
For pixel art in Aseprite you need seven tools to start: pencil (B), eraser (E), eyedropper (Alt or Option click), paint bucket (G), selection (M), move (V) and the hand (H), plus layers. Everything else you can learn when a lesson needs it.
Aseprite has a lot of buttons, and in my course I first walked through all of them. Students told me that was too much before drawing a single pixel, and they were right. So here is the short version: what you need on day one, and the rest for later.
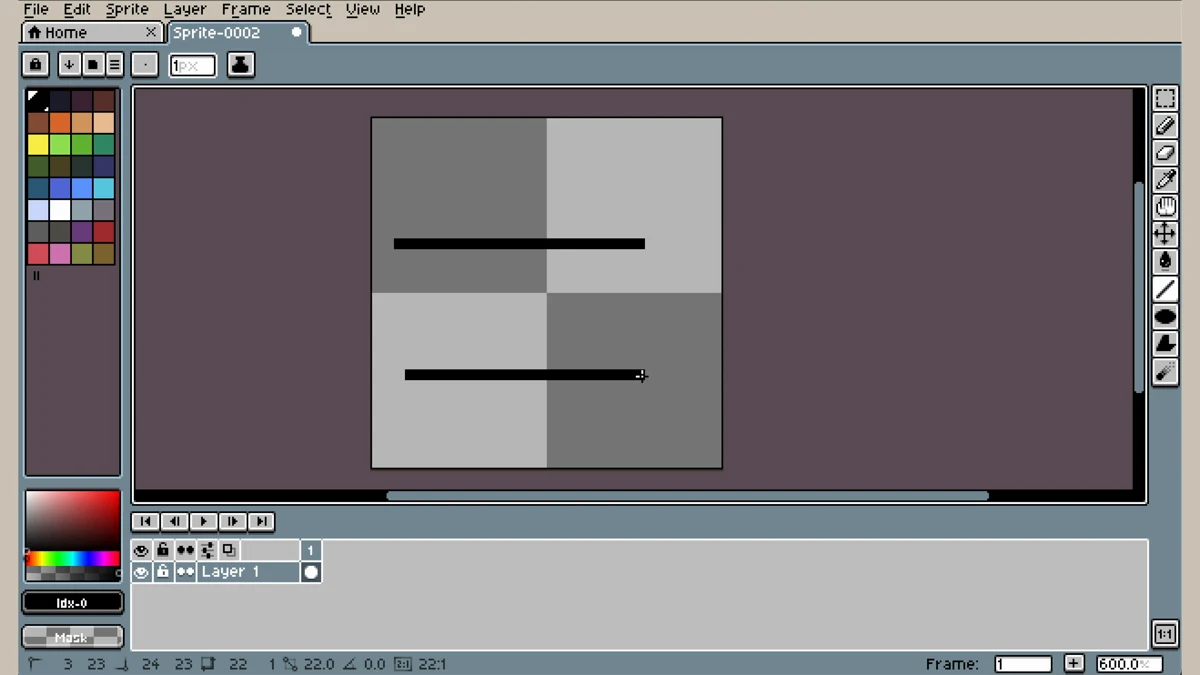
Day one: seven tools
| Tool | Shortcut | What for |
|---|---|---|
| Pencil | B | The tool you use most. Right click erases if you set it up (below). |
| Eraser | E | Or skip it and erase with the right mouse button. |
| Eyedropper | Alt / Option + click | Pick a color from the canvas without switching tools. |
| Paint bucket | G | Fills an area of one color. Watch for gaps in the outline, or it leaks. |
| Marquee (selection) | M | Select, then copy, paste, move or delete. Also lasso and magic wand. |
| Move | V | Moves what is on the selected layer. |
| Hand | H or hold Space | Drag the canvas around. |
Layers
Put each step on its own layer: background, outline, color, shading, lighting, details. Double click a layer to rename it, drag to change the order, click the eye to hide it, and the padlock to lock it, so you don't touch it by accident while you work on another one. Shading and highlights on separate layers are always a good idea.
Settings worth changing
- Right click to erase: in Preferences, Editor, set the right click to erase. No more switching between B and E all the time.
- A subtle grid: View, Show, Grid, then in Preferences make it black at about 23% opacity, so it helps without stealing attention.
- The menu bar: Preferences, General, Show Aseprite menu bar, so the menus look the same on Mac and Windows.
- New sprite: transparent background and a pixel aspect ratio of 1:1, square pixels.
Rules that save you trouble
- Don't use alpha. Semi transparent pixels mix into colors you never picked, and the art turns muddy. Change hue, saturation and value instead.
- Import references as PNG, not JPEG. JPEG is lossy and blurs the edges, so you can't read the pixels.
- Export PNG for a still, GIF for an animation, and scale it up on export, for example to 1000%, so it isn't tiny.
- Scale only by whole numbers: 200%, 300%. At 150% or an odd size some pixels become thicker than others.
- Need a bigger sprite? Redraw it, don't scale it.
Later, when a lesson needs it
| Tool | What for |
|---|---|
| Line | Hold Shift for straight lines in 45 degree steps. For clean pixel lines, keep to the ratios 1:1, 1:2, 2:1. |
| Rectangle and ellipse | Hold Shift for a square or a circle. Small circles still need a cleanup by hand. |
| Replace Color | Shift + R: recolor every pixel of one color at once, like a black outline. |
| Canvas Size and Trim | Sprite menu: make the canvas bigger in any direction, or trim the empty space around a game asset. |
| Tilemap layers | Right click a layer, Convert to Tilemap, and paint with whole tiles. |
I almost never use the blur and jumble tools, or the curve tool: I draw curves by hand, it's the way I feel my work better. And if you use LibreSprite or a tablet app instead of Aseprite, everything on this page still applies, only the shortcuts change.