
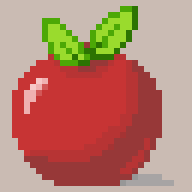
To make pixel art, open a small canvas, 16 or 32 pixels, and pick four to six colors. Then draw in five steps: outline, flat colors, shading, lighting and details. Place every pixel on purpose. Below is the whole process on my apple, and you can draw it yourself in your browser.
This is the short version of how I start my students. It's the same order I use for every sprite, from an apple to a character. Do it once on something small, and the rest of pixel art becomes a lot less scary.
What you need
- A raster editor. I use Aseprite in my course. If you want to start right now, my free pixel art editor runs in your browser.
- A small canvas. 16 by 16 or 32 by 32 pixels for a first sprite. Small is easier: every pixel counts, and you finish before you get tired.
- The pencil, one pixel wide. No soft brushes, no smoothing.
- Four to six colors. A base color, a darker one for shading, a lighter one for light, and a dark outline. More on picking them in pixel art color palettes.

Before the first pixel
Pixel art follows three simple rules. Make it in raster software. Keep it small enough to see the pixels without zooming in. Give every pixel attention. The third one is what makes it look right.
Then take a minute to plan. I use SPECC: size, perspective, color and light, composition. For a first sprite it's simple: 32 pixels, seen from the front, light from the top left.
Your first sprite in five steps


Draw this apple yourself, step by step →
1. Outline
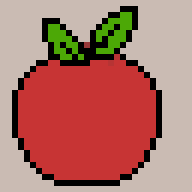
I start with a rough shape that sets the size, then draw the outline over it, one pixel wide. Watch out for doubles, two pixels side by side where the line should only touch at the corners. Watch out for jaggies, a pixel that breaks the line. And keep curves in order: change the run by one pixel at a time, like 3, 3, 2, 1, then back up. More in outlines and contours.
2. Flat colors
Fill each area with one flat color. Then recolor the outline: once it has set the shape, it doesn't need to stay black. Dark red around the apple, dark green around the leaves. It already looks better, even with no shading yet.
3. Shading
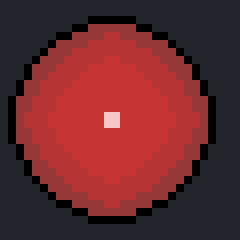
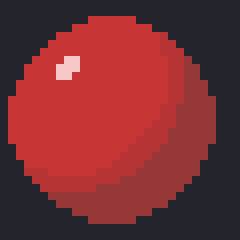
Decide where the light comes from before you shade. Here it's the top left, so the shadow goes on the bottom right. One or two darker tones are enough. The shadow follows the form, it doesn't just go around the edge. More in shading and lighting, with a sphere you can shade in your browser.
4. Lighting
A small highlight where the light hits first. On my apple it's 7 pixels. Be careful here, a big highlight looks like plastic.
5. Details
At the end I check every step again: the shape, the outline, the colors. Then the last touches. A bit of bounce light at the bottom, where light comes back from the ground. A pixel of anti-aliasing where two contrasting colors meet, in a few places only.
The beginner mistakes I see most
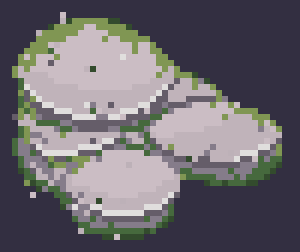
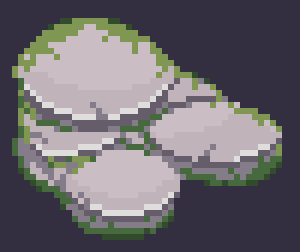
And one more: a canvas that's too big. At 1000 pixels you stop seeing the pixels, and it stops looking like pixel art. All the terms and mistakes are in pixel art terms.
What to draw next
- Your own small object in the same five steps: a cherry, a coin, a potion bottle.
- Shapes and shading, so the light makes sense on any form.
- Nature, the easiest way to practice: fire, water, rocks.
- Game levels: a pixel art tileset, the tiles that build a whole street or floor.
- Then the whole path, from simple to complex, in my roadmap.
Half an hour a day is enough to keep moving. Things start getting easier after the first 150 hours of practice. More in how long it takes to learn pixel art.